Being our first "official" Valentine's Day, I wanted to give Boyfriend something memorable and unique. He is an amazing guy and there are so many reasons why I love him, I wanted to make something that would highlight those reasons.
I decided on a Jar of Stars. I had read something that said a jar of origami stars is given as a special gift of love showing commitment and dedication. Sounded right to me and I had nothing but time on my hands. I decided to fill an antique Ball jar that we had bought on an Adirondack getaway with 100 origami stars. Each star, when unfolded, would reveal a something I loved about him. I could have come up with 100 reasons easily, but 50 seemed to do the trick so the same message appeared twice. I have a large supply of 12" x 12" scrapbook paper so I decided to use that to make my stars.
I began with a sheet of good old-fashioned notebook paper where I could make my list of messages for inside the stars. I wanted to be organized and be sure I listed things that were most meaningful to us as a couple. Then I set about choosing a variety of colorful papers and cutting 100 1/2" wide strips. I found it easiest to work in an "assembly line" fashion where I did all the cutting, then all the writing, then all the folding, etc. That way I really got into a rhythm and the project went quickly.

Once my strips were cut, I wrote my messages on each strips. Once that was done, I went through and did the first fold (which was basically a knot) on all 100 strips. I found the direction by doing a Google search and finding a very easy-to-follow video on YouTube. You can watch it here: http://www.youtube.com/watch?v=j6D3jyhDz_M

After that, I spent my morning folding stars....and folding stars....and folding stars. Well, you get the point. Then I puffed them all out into three dimensions and popped them into the jar. When the jar was filled, I tied a simple red ribbon around the neck and placed it on Boyfriend's nightstand where it would wait for him to arrive home.
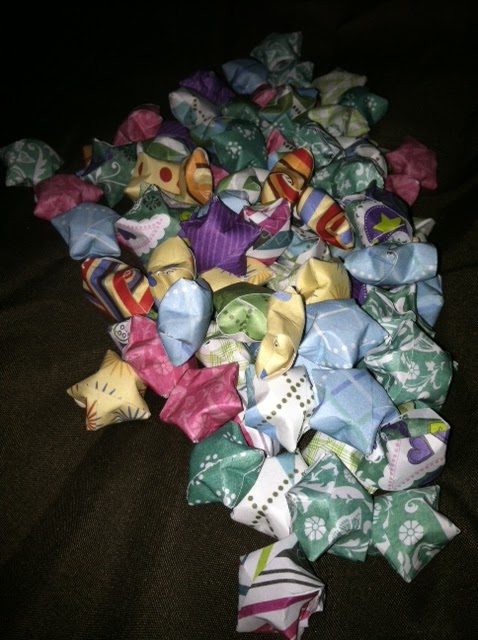
All 100 stars...folded and plumped!
He was amazed at the gift! He appreciates anything I put effort into but he especially loves anything homemade and creative. He started out by opening one every night when he got into bed, but then decided he wanted to space them out to make them last longer.
I